Leaning Oak Cheesemaking Workshop

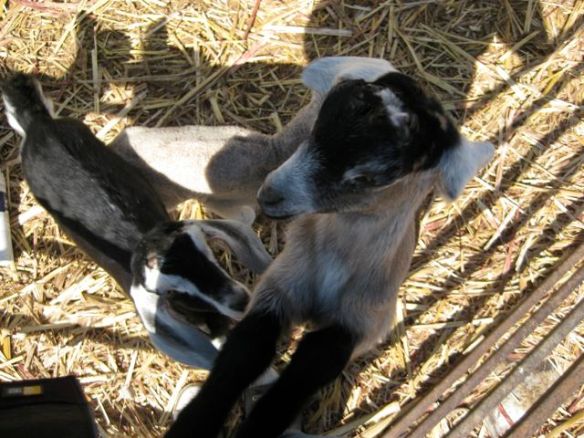
Two sunny winter days in the country, making cheese with my mum, is a pretty good way to spend the weekend. Mum met Gloria, the cheese maker at Leaning Oak  at the farmers markets in Orange (I think) and, a few months later, we found ourselves at her farm in Mudgee, watching a stubborn goat refuse to  be caught. I should probably have put a photo of cheese here, but the stars of the visit really were the goats. It’s baby season, giving us a soundtrack of ‘baas’ to make our cheese to.

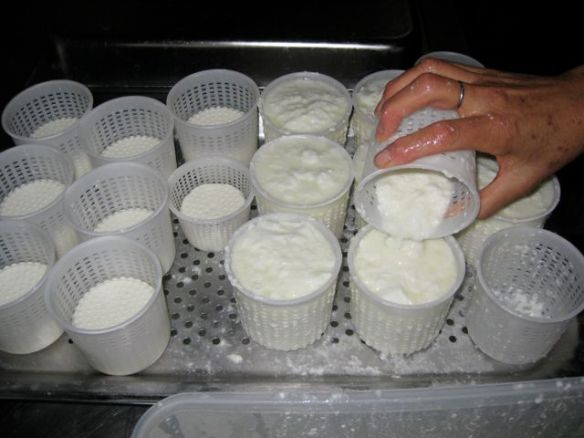
I love going to cheese workshops, you can learn so much more than from books, you can ask questions, see the different techniques that people use and work out why things have gone wrong in the past. Using  fresh goats milk, we made four cheeses over the weekend: a fresh chevre-type cheese, feta, a bloomy camembert-style cheese and a blue.

Gloria, who ran the course, and her enthusiastic assistant – her 11 year old daughter – stepped us through each cheese, from milking and pasteurisation to maturing at home.

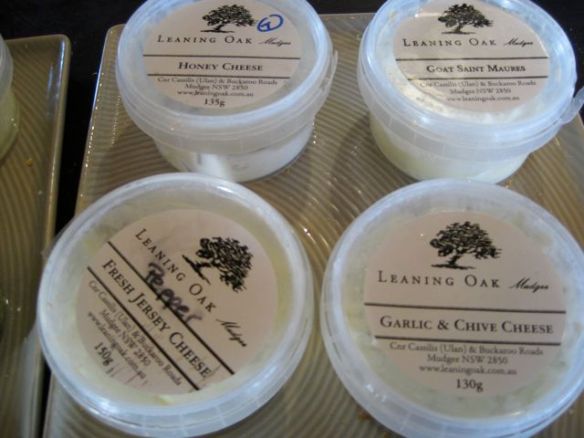
We tasted her cheeses as well. The one that really stood out for me was the lemon-marinated feta. It’s not a combination I’d had before, and the citrus hit against to the creamy, salty cheese, has inspired me to make some preserved lemons today. Once they’re ready in a few weeks, I’m going to make some more feta and see if my marination works anywhere near as well.

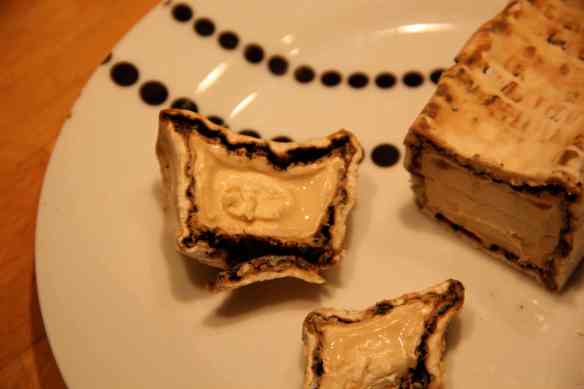
As she runs workshops  on a monthly basis, we also got to try the blue made by last month’s students. It’s a really soft cheese, with a chalky centre that will get softer and softer over time. I’ve got mine maturing at the moment, so hopefully in about a month it will look something like the one below. The penicillin in blue cheese grows with exposure to oxygen, so to get veins into the cheese you need to stab it with a sharp and sterile metal spike. I’ve decided to leave my blue without the veins, as I really like the idea of having a bluey/grey outside and then the clean centre, but I think mum plans to put holes into hers, so hopefully I’ll be able to show and compare the  results soon.

Whole-milk ricotta (cheesepalooza challenge 1)

Despite not being gainfully employed at the moment, and therefore having lots of leisure time, I suddenly realised it is already half way through August and I still hadn’t made my ricotta for cheesepalooza. So, here it is.

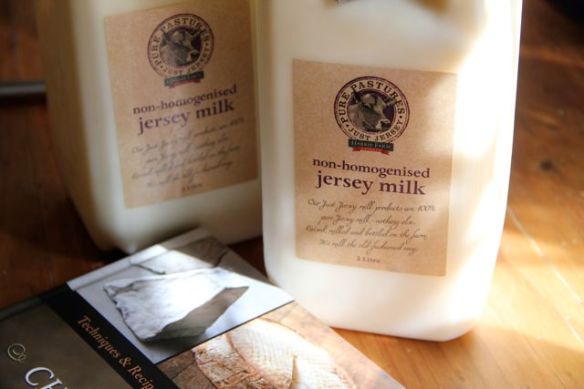
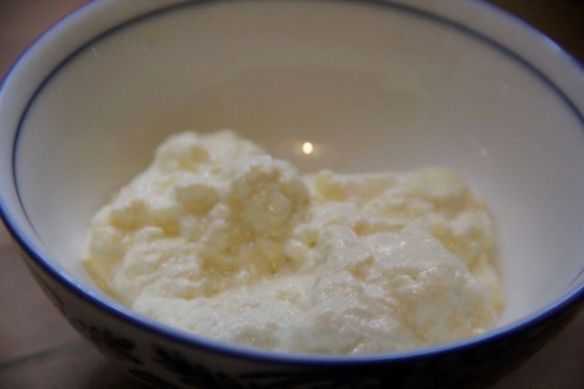
I still have all my cheese-making bits and pieces packed away, but luckily I’m housesitting for another cheese-making friend, so could use all her equipment. Having only made whey ricotta in the past, it feels much more successful making it with whole-milk as the yield is much bigger. Although I followed Mary Karlin’s recipe, I adjusted the volume of milk involved to avoid wastage – so instead of 1 US Gallon (roughly 3.7 Litres), I used 2L of milk (in this case, unhomogenised jersey cow milk) and 300 ml of double cream, but pretty much the same amount of citric acid and salt (1 teaspoon each).

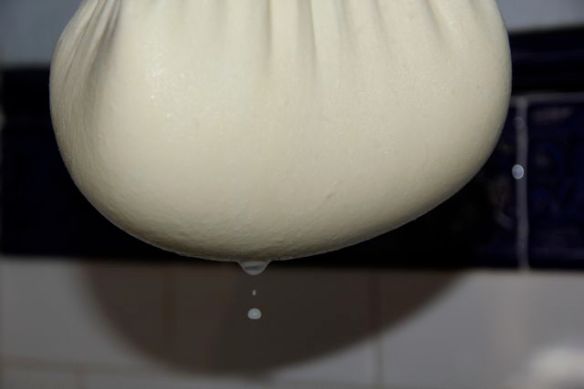
The basic process involved was really easy, and quite different from other methods I’ve used before. You simply  combine your milk, cream, citric acid and salt all together, then heat slowly to 85-95C. Once it is there, make sure the curds are forming and then remove from the heat. The pot then needs to be covered and still for 10 minutes before scooping the curds into a cloth-line colander/draining device.Mary says to salt at this point but I forgot (this has some impacts on taste that I mention below).

You can then tie them up, hang and leave to drain for as long as you like (ie. depending on how dry you like your ricotta).

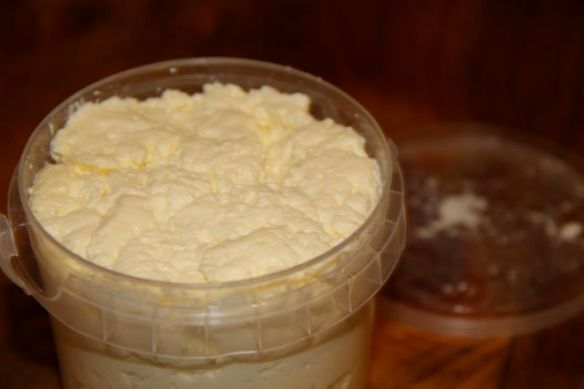
I removed half my curds after 30 minutes (Mary’s correction notes of her website suggest 15 minutes would be enough, but I like a little less wetness). These curds were still quite moist, but after about 2 hours in the fridge they had firmed up nicely. I mixed in a little salt to make up for forgetting earlier and left the other half of the curds hanging for 2 more hours, so they became slightly dryer.

Tasting both of these later, I think I actually much prefer the second lot, although I think this may have more to do with the salt content that the texture. Surprisingly, after a few hours in the fridge, the  structure of both batches  seemed very similar  – soft and spreadable but not wet. The taste was different though. The salty one had actually ended up a bit sweet. The second lot was much more savory and creamy, perfect on sourdough toast.

It’s so good to be back making cheese. I’m looking forward to next month’s challenge, but in the meantime I’m off to Mudgee next weekend for a cheese-making course. I’ll let you know how it goes.

Taking part in Cheesepalooza

I missed cheese making whilst I was away and I was planning to just get started again on my own, but now I’m going to take part in Cheesepalooza!

Planned by A Canadian Foodie, it follows the monthly food-making challenge approach of Charcuterpalooza and other joint-blogging food adventures. August is out first month, so I’m looking forward to making some new cheeses and learning from others around the world. We’re going to be using Mary Karlin’s Artisan Cheese-making at Home book, which I haven’t used before, so I’ll let you know how I find the recipes as we go along.

A small wedge of New York cheese

Ok. so it was a little while ago now, but as part of our travels we went to New York and I wanted to tell you about the cheese.

Going to cheese mongers when you’re on holiday is a form of torture in some ways. There are rows of these amazing cheeses, all begging to be tried but I have nowhere to keep any of them, so have to somehow limit myself to buying just one cheese per store. It is almost impossible!

The first stop was Saxelby Cheese. If  you’re walking down Essex street from East village, it would be quite easy to miss the doors into the Essex Street Market. We got half way down the next block before I realised we’d somehow not found a cheese shop.

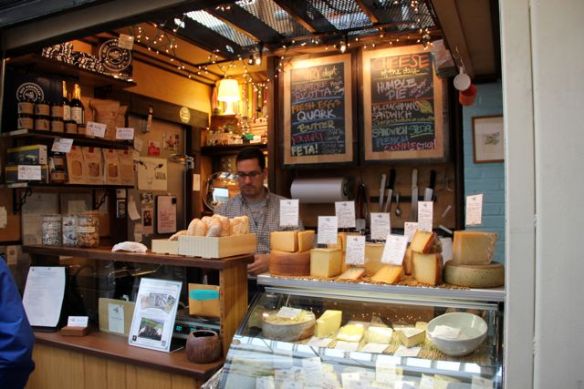
Once you make it inside the market however, you find a crammed world of edible and imbibable substances, too many to try in one visit. At the southern end is Saxelby Cheese. This tiny store, the brain child of Ann Saxelby is exclusively devoted to artisan cheeses from the North Eastern states of the USA; states that are full  of small cheese makers and this store provides a way to try lots of them.

I was really excited about trying cheeses from this region. As you’ve probably worked out by now, I’m very partial to a good washed rind cheese, and I tried an amazing cheese day called Humble Pie. Produced in Vermont by Woodcock Farm, my small wedge was oozing from the moment it was removed from its wrapping, sticking to my fingers and coating the inside of my mouth. Being brine-washed, with smatters of mould, it has a reasonable strong smell but it is creamy and smooth to taste. I wish we had more.

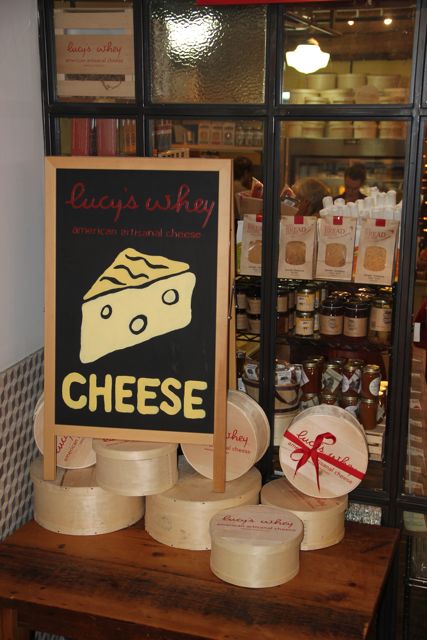
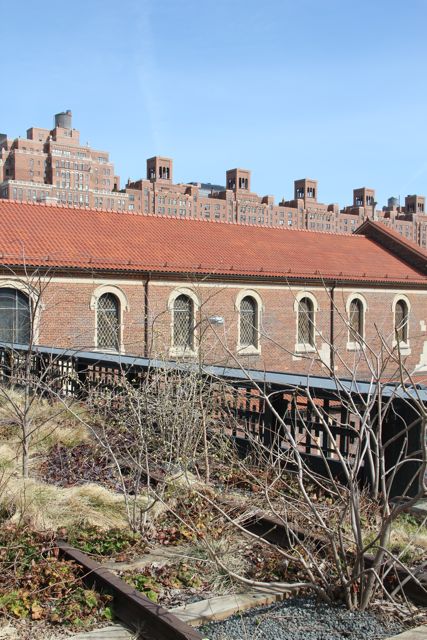
The second visit was to Lucy’s Whey and their store inside the Chelsea Markets. Another specialist in American cheeses, it was packed on the Saturday we visited with people buying cheese as well as the toasted cheese sandwiches. It was blue cheese for me today. After trying a few options, I settled on a Jasper Hill blue. It was lovely and salty, with a slightly dry texture (although thining back, I;m not sure if this was primarily relative to some of the creamier blues I tried). It turned out to be a bit of a mistake going on the weekend, as there wasn’t much of a chance to ask questions but it was still good to make it there. Another good reason is that the Chelsea Markets are right next to the Highline Park – an restored raised rail line that is now a park that weaves thgrough the new York skyline. A perfect picnic stop after buying your cheese.

Back home!

Hello!! After taking the long way home via South America, the US and Mexico, I’m finally back in Sydney and ready to start making cheese again. I’ve got lots to write too about all the amazing cheese I ate along the way. More coming very soon.
A visit to Hampshire cheeses

I’ve been a bit absent lately. It’s been hectic finishing up work and packing up our life in London. But, before leaving, I got the chance to visit Hampshire Cheeses.
It still surprises me that in the space of 45 minutes, you can can go from the stop-start mess of south-west London traffic to the crisp winter green of the countryside, in this case, the village of Herriard.

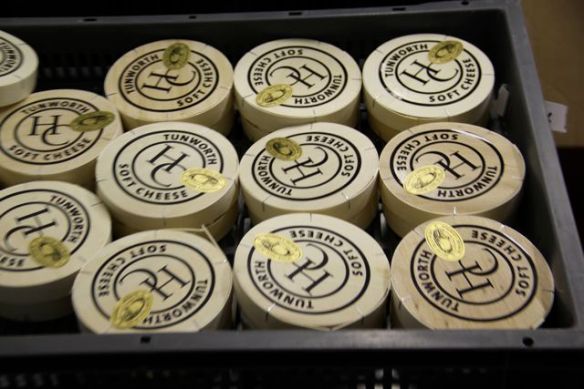
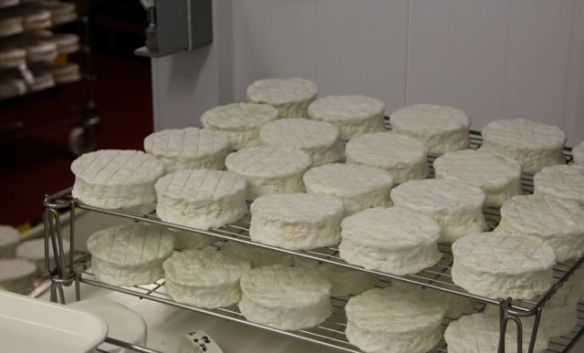
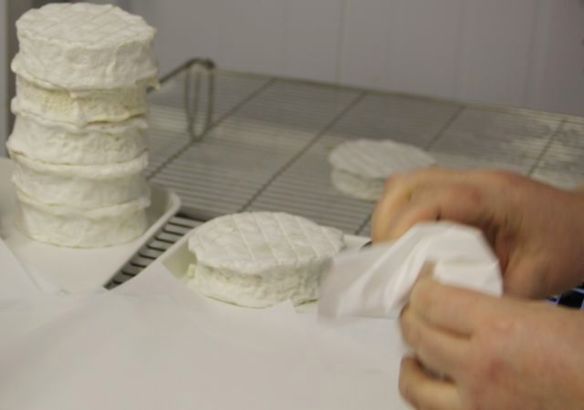
Herriard is the home of Hampshire Cheeses, a small artisan cheese company that produces Tunworth, a soft white mould, Camembert-style cheese. Started by Stacey Hodges, it has grown from a home-based beginnings to a much larger, purpose-built facility. Still a small operation, a team of 5 do everything by hand: the cheese-making, salting, turning, packaging and…the extensive and essential cleaning.

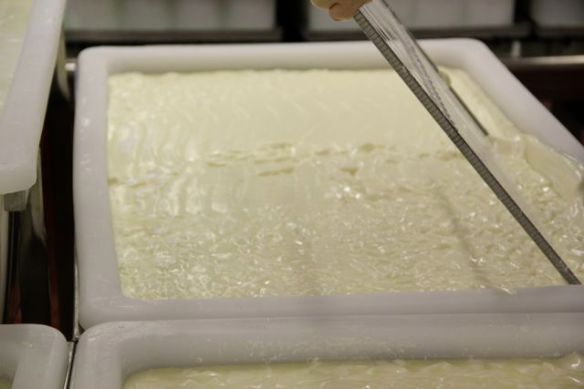
When I arrived at around 9.30am, work had already been underway for a few hours, with yesterday’s cheeses removed from their moulds, salted and placed into the drying room. Today’s milk had also been collected from a nearby farm, warmed and cultured and was ready to be pumped into the waiting troughs and renneted.

Once the rennet was added, the waiting began. So as the curds set over a number of hours, the focus shifted to wrapping and packaging cheeses made a few weeks before. Boxing cheeses sounds simple enough but I definitely fail on efficiency (I think I was probably boxing 3 cheeses compared to 10).
Back in the cheese-making room, once the curds had a clean break it was time for cutting, stirring and moulding. It was so different to see this on a real scale (my 5 litre pot in the kitchen doesn’t even compare) and so much more physical. With clean arms, I was able to reach into the warm whey and separate the small pieces curds, breaking up the larger chunks and ensuring movement.

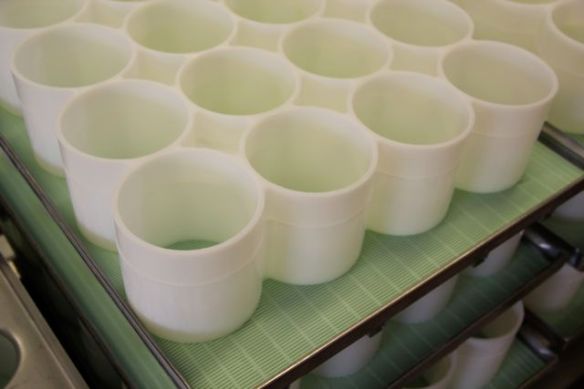
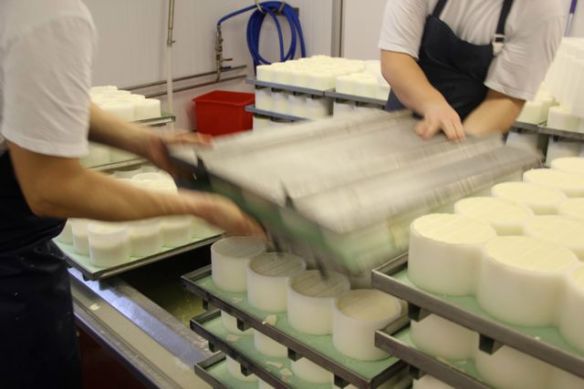
Hundreds of molds were piled up and as fast as the curds are poured in, they drop, expelling why into the waiting trays and drains. Once they are all full, they sit and settle, before being flipped over the drain evenly. They’ll stay this way overnight, waiting for the process to begin again.

Seeing cheese production on a real scale was a great and I want to say thank you to Stacey, Charlotte, Neil, Sharon and Danny for letting me try to help and answering my many questions. It makes me realise how far my cheese-making has to go.

An English and Welsh cheese tasting

I tend to talk about cheese at work. A lot. So, having made everyone listen to me and having inflicted the smells of my various purchases, I tried to make up for it by holding a tasting night.

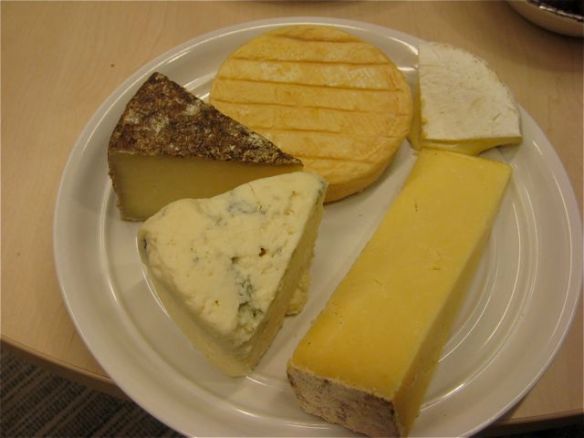
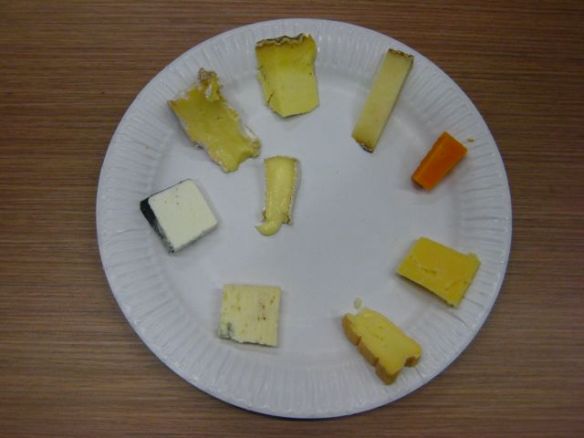
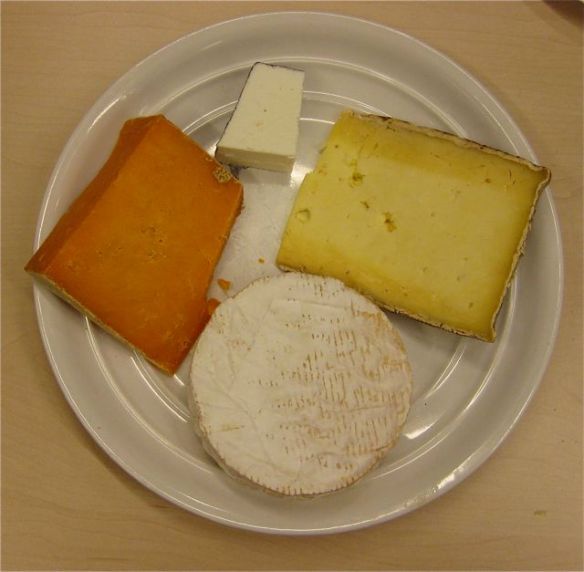
We worked out way through eight cheeses from England and Wales (the 9th piece above was one of my Camemberts), starting with a fresh English goats cheese from the Cotswolds called Cerney. Ash-coated and only a week old, this was fresh, lightly lemony and mild

The soft-cheese representative was one of my favourite cheeses of 2011: Tunworth. A full,meaty camembert style cheese – it is creamy, slightly firm and leaves an almost cabbagy flavour in your mouth. It was met with almost universal love from my colleagues.

We moved onto some semi-hard and hard cheeses next. We started with Gorwydd Caerphilly, with its layers of texture and taste from the fresh and firm centre through to the smoother paste edges and the rind. This was followed by Sparkenhoe Red Leicester, which was mellow and nutty  and Pendragon, a firm buffalo-milk cheese made in Somerset that has a clean and mild taste. Wanting to offer something a bit sharper, we  ended the hard cheeses with a Montgomery Cheddar.

Oxford Isis was next up. I first tasted this cheese at this year’s British Cheese Awards and, as often occurs with washed-rind cheeses, the smell is enough to put some people off, but once you pass through, it becomes a much milder, with an earthy bite with just a touch of bitterness.

The final cheese of the night was Beenleigh blue. This ewes milk cheese can look quite white and may be missing the strong vein-lines you see in many other blues but don’t let this mislead you. It is salty, tangy and crumbly but almost sticky at the same time.

So what was the verdict from the night?

Overall favourites: Beenleigh Blue and Tunworth

Best matches: Beenleigh Blue and dessert wine

The room splitters: Oxford Isis, Pendragon

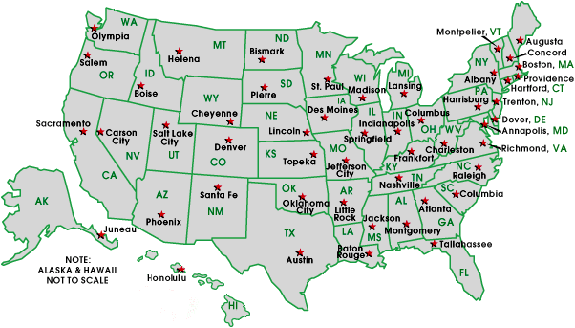
A USA cheese roadtrip! (suggestions welcome)

(source: http://www.50states.com/us.htm)

Over the last few months we’ve been making lots of decisions – about jobs, where to live and travel. In the end, we’ve decided to move back to Sydney. It seems to make sense for a lot of reasons but at the same time it’s really sad as we have to move away from friends all over again and leave London behind. The exciting part of this decision though is that we’re not going straight home. Instead we’re going to travel for a number of months, with a couple spent driving along the west coast of the USA.

It puts a slight hold on my cheese making but I’m hoping to make up for it by trying lots of new cheeses and learning about cheese-makers in California, Oregon and Washington. This is also where I’d love some help. I’m new to American artisan cheese and would love any suggestions of places I shouldn’t miss.

Late update – ash-coated goats cheese

I’m never really sure if I should write about my disasters. But, as I promised an update, it seems like the story of my ash-coated goats cheese remains incomplete without an ending. Sadly, there isn’t much more that needs to be told other than I had to clean my teeth very quickly after trying it (and Nick wasn’t going to even contemplate a bite).

There were a number of problems. First, as you might see above, the rind was separating quite badly. Second, the taste was quite bitter (the exception was the firmer centre, which tasted more like chevre although not as light or lemony as fresh cheese).  Finally, although I know appearance in cheese isn’t everything, the ash did make it look unappetizing. There are so many variables that could have caused these issues but I think it might have been too moist and perhaps also insufficiently salted.  Anyway, I’m not too fussed; it was a good experiment and it just makes me want to try making more.

Cooking with curds

Alessandra Zecchini writes, amongst other things, a New Zealand blog that is full of food that I want to cook. My recipe for haloumi came from her site. Recently, I saw that she had started a monthly blogging event called Sweet New Zealand, which is for kiwi bloggers cooking sweet things, and it made me think that I’d like to be involved in something like that, only with cheese.

So I’ve decided to start doing a monthly post of cheese-related recipes. I’d love others to take part too – so if anyone else happens to be keen, let me know (360degreescheese(at)gmail.com) and we can start posting a collection each month. Admittedly, it might end up just being me but if anyone else has old or new posts where cheese is a key ingredient, send me a link and I’ll put them together into  single post – like a recipe log of cheese that can be shared.

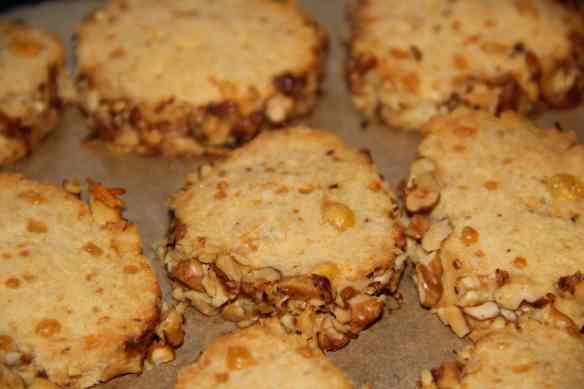
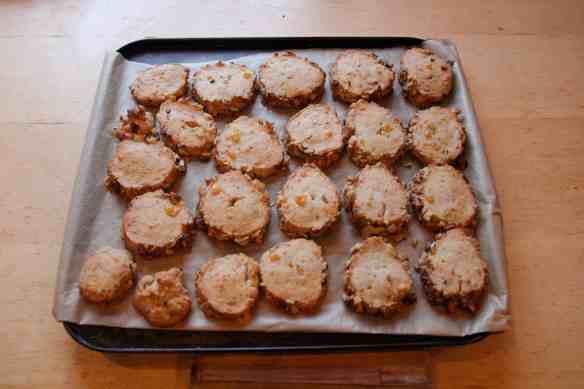
To start, I made these blue cheese and walnut shortbread. The recipe comes from Leite’s Culinaria and it seemed like a good use for the large chunks of blue cheese that I had in my fridge. We had a few the other night with a 2004 Rioja, and the combination brought out the pepper in the biscuits and the spice in the wine; a goodway to spend a wet and cold evening at home.

Blue cheese and walnut shortbread ( via Leite’s Culineria)

Take around 110 grams unsalted butter, at room temperature (I had only slightly salted butter, so used that and left out the extra salt I mention below) and around 250-300g of blue cheese, crumbled. Put these in a bowl and cream together with a wooden spoon until it is a smoothish paste (you could also use a food processor but I don’t have one).

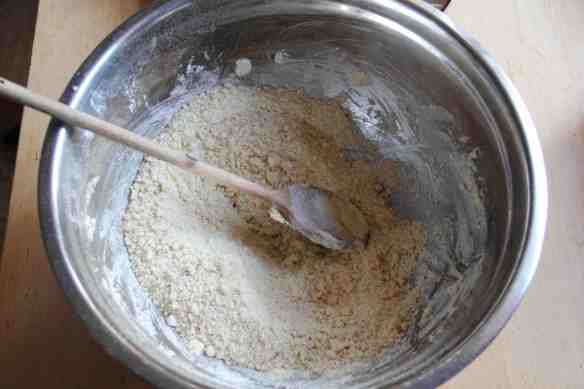
Get 1.5 cups of plain flour and mix with 1 teaspoon freshly ground pepper and 1/2-1 teaspoon salt (if using). Add some of this dry mixture to the cheese/butter paste and mix with a wooden spoon in a fast (but light) chopping motion and keep adding more flour the mixture resembles large breadcrumbs. (The ‘fast-light’ chopping motion might sound odd, but  I found dashing the spoon through the mixture meant it didn’t clump together and let the large bits break up).

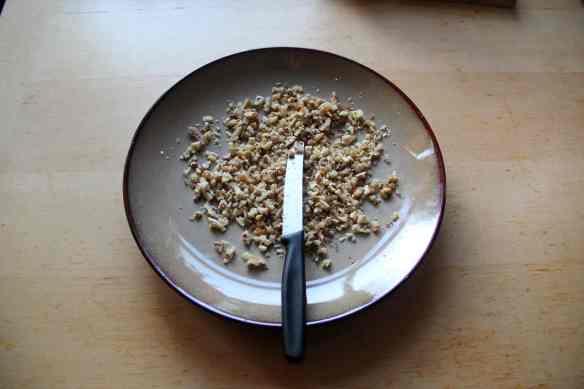
At this point, take 1/4 cup of walnuts and chop/pound/break them up into small bits. Put aside.

Add 1 tablespoon cold water and mix until the dough comes together. Put the dough onto a floured work surface and roll it into a log that is about 3-4 cm wide in diameter. Brush it with a lightly beaten egg and roll it in the chopped walnuts so that they cover the length of the log. Finally wrap it in cling wrap and place in the fridge for at least 30 minutes.

Once you are nearly ready to cook the biscuits, pre-heat the oven to 175C (the recipe says 176C but my oven is nowhere near that precise!) and cover a lightly-greased flat baking tray in baking paper. Remove the log from the fridge and cut it into1-1.5cm rounds. Place these on the baking tray and cook for 20-22 minutes. You want them to be all golden, so check them around 10 minutes or so, and spin the baking tray around. Once they are ready, remove and let them cool. Eat!